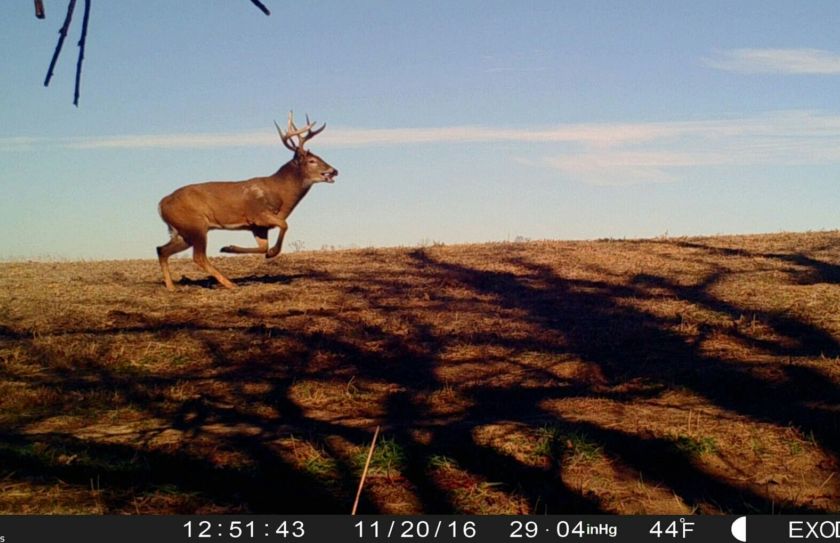
While only a small fraction of whitetail lands capture a higher % of daytime buck movement than nighttime, this elusive result is a lot easier than you may think. You can't improve your hunt or your herd unless your # of daylight trail cam buck pictures are maximized, and there are several proven strategies to make it happen. Trail cam check up frequency, quality trail cams, hidden trail cams, movement sweeteners and creating deer habitat improvements with a purpose, are all decades old proven tactics that you can use to make sure that you have one of the very few daytime buck parcels, in the entire surrounding neighborhood.
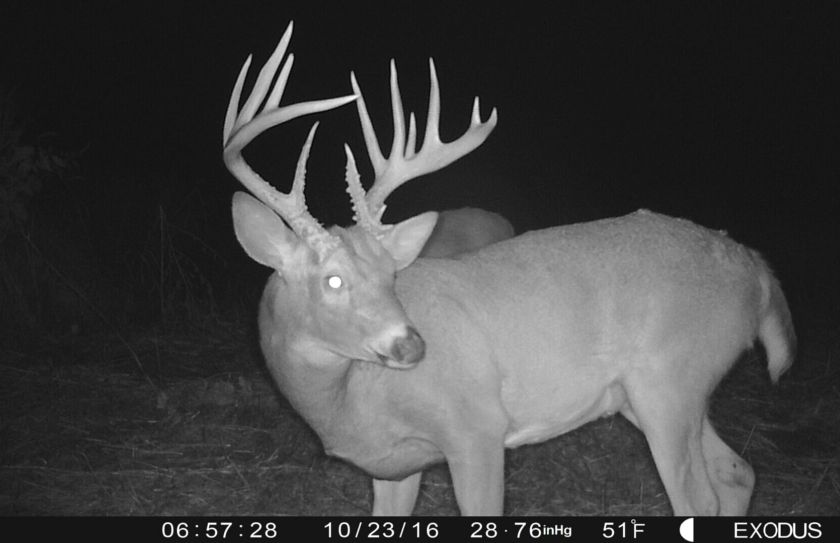
*You can't take a picture at any time of the day or night, if your trail camera isn't working. I need a trail camera that I can rely on for not only my passion for all things whitetail, but for my career. That's why after 100s of thousands of pics and videos over the past 2 years, I can highly recommend Exodus Trail Cams!
How To Increase Your Daylight Trail Cam Pics
Turning your small chunk of private land into a daylight mature buck hotspot takes more than just a solid trail cam strategy. However, capturing a high % of daylight mature buck movement is a reflection that your entire hunting, habitat and herd management practices are in high gear. It's important not to fool yourself because regardless of the quality of your habitat improvements, including food plots, waterholes, hinge cuttings, Timber Stand Improvement, mock scrapes, travel corridors, etc., if you do not capture at least as many daylight buck movements as nighttime, your ability to mold, create and manage a high quality herd or hunt is minimal at best. Here are 5 important base daylight buck movement strategies that you need to follow, when it comes to an accurate trail cam reflection of your herd and hunting potential:
1. Quality Trail Cameras Matter
I not only chose to use Exodus Trail Cams because of the level of quality the company represents -which includes their 5 Year Warranty- but because their Lift II features true HD video footage, low-glo IR technology, easy to use controls, up to 9 shot pic burst, perfect trigger times and a rubber coated no scent camo finish. However, simply - they work! It drives me absolutely nuts when I can't count on a trail camera to work because so much intel can be potentially lost over the length of time a trail cam is down. During the season I haven't lost a single Exodus over the past 2 years, and that means a heck of a lot when you are attempting to assess your habitat and hunting strategies, as they relate to daytime buck movements.
2. Hidden Trail Cams In Hidden Locations
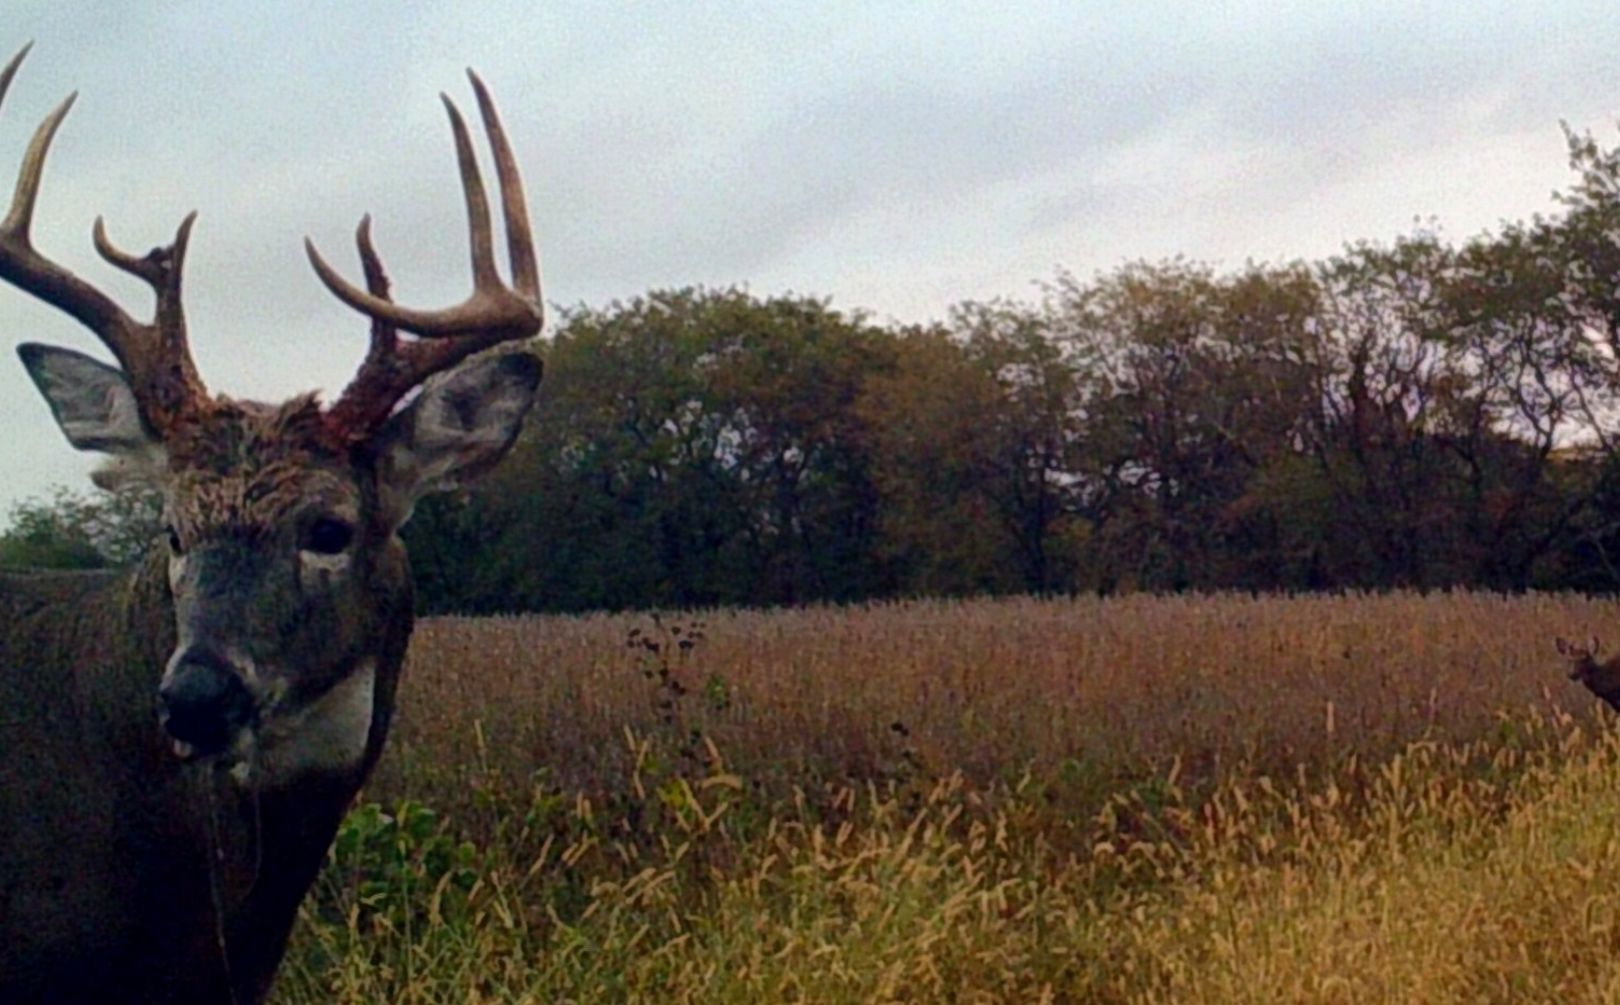
I won't hit this too hard because I have covered the art of Hiding Trail Cams extensively in previous articles, however this strategy is critical for not only collecting daytime movements around your trail cam setups, but for keeping deer on your land in general. Typically, poorly hidden trail cameras not only establish a nocturnal buffer around each trail cam location, but those buffers can actually carry such an invasively significant impact that 6 poorly managed trail cams on 40 acres can eliminate daylight mature buck movement on the entire parcel. Really, it's that serious! Here are the basics of keeping your trail cams hidden:
- Consider using stand locations. Nearly all of my trail cameras are located close to stand locations. Because I hunt remote setups conducive to mature buck harvest, my trail cams are rarely exposed to hunting pressure.
- Hang your trail cams high. Trail cams at 6' high are well above the line of site for deer, and in my experience keeps your trail cams from being seen at least 75% of the time.
- Use non-IR trail cams. I've personally created trail cam setups with drastically shrinking daily pic numbers. The culprit? While scouring trail cam photos it was pretty easy to see that every daytime deer that cruised by, didn't stare at the trail cam and every deer that cruised by at night, stared at the cam. I have a goal of a deer NEVER staring at my trail cam setups so when more than 5 deer out of 100 stare at the trail cam, something needs to be changed. The first culprit is typically those nasty little glowing red bulbs from an IR flash.
- Hiding trail cam profiles and shapes by the width of the setup tree, by an adjoining trunk and by a full backdrop of shrubs, grasses, weeds and trees, you can create the ultimate hidden trail cam setup up. Again, the ripple effect still applies if deer can see your trail cameras during the daylight. Although changed quickly, I have experienced my own trail camera setups where deer only pick them out during the hours of daylight. When this happens you can concluded that deer aren't spooking because they smell your or hear your trail cam setup, but they sure can see it! You can also know that your low glow or blackout IR options are working well too, when deer never look at your camera during the hours of darkness.
*Want to see more daytime buck movement while you hunt? Then make sure to check out my latest book, "All Weather Whitetails".
3. Daylight Deer Movement Sweeteners
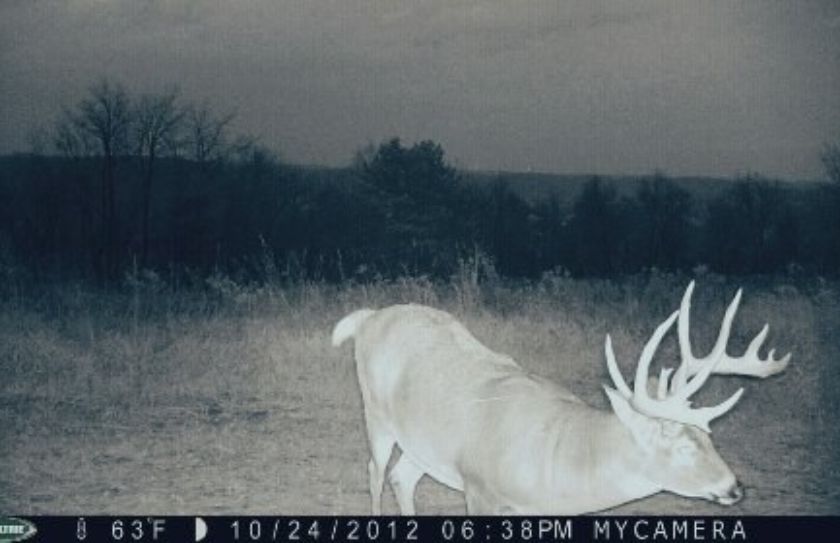
Mock Scrapes, waterholes and mineral stations (where legal) are great movement sweeteners that have the ability to define a pinpoint level of daily deer movement, right in front of a trail cam setup. Be extremely wary of horizontal rubs and other various commercial and man-made rubs. Bucks seldom visit a specific rub on a consistent basis, so spending too much time soaking a trail cam on a hot rub, may leave you with an extremely cold SD card.
4. Attacking Lines of Deer Movement
The same reason that a trail cam should be located near a treestand, is the same reason that you should be hunting in the location in the first place: Defined daily deer movement. When you create specific habitat features such as bedding areas, food plots, deer travel corridors, waterholes and mock scrapes that create consistent daylight lines of deer movement, make sure that you not only hunt those lines of movement, but that you hang a trail camera over them. By creating habitat features that follow the natural lay of the land while allowing you to access and hunt various stand locations without spooking the whitetails that move within, you are setup up with an outstanding balance of hunting access and deer attraction, that produces a great opportunity to capture daytime buck movements!
5. Finally - Leave Your Trail Cameras Alone
If you can't avoid the temptation of checking your trail cameras too often, then do yourself a favor and place your trail cameras in locations that you never expect daylight deer movements. That's an easy strategy. By deciding which is a daytime trail camera location and which is a nighttime, you can make sure that you not only know where you should expect to capture buck movements during shooting hours, but you can maintain a consistent level of shooting hour movements. The best piece of advice that I can give you is to only change your trail camera cards when you hunt an adjacent stand location. By limiting your parcel access pressure to only when you hunt, you avoid doubling, tripling or even quadrupling the amount of access on your land, during the hunting season.
The Size Of Deer Parcel Matters Little
Think you can't have find consistent daylight buck movement on 40-100 acres or less? Think again! The overall size of a deer parcel is one of the highest holes in the bucket when it comes to managing a quality daytime herd and hunt. On the other hand, human and hunting pressure is the lowest hole in the bucket. A 400 acre open hardwood parcel with several hunters practicing invasive hunting techniques, results in a parcel worth far less than a 40 acre parcel with a couple of hunters that manage their hunting pressure.
*Properly hiding trail cameras in hidden habitat locations is one of the top Trail Cam Strategies that you can practice!
Conclusion
Are you the daylight buck parcel in the neighborhood? The true herd and hunting influencers are those very few landowners that are blessed with a high supply of daylight trail cam pics. After all you can manage what you can't control during the daylight! If your goal is to create a quality deer herd and a great hunt, then your trail cameras will reveal exactly how you are doing. Your trail cameras don't lie, in particular when they are located and hidden appropriately. In fact, you absolutely can not have a great herd without creating a great hunt, and vice versa. The two are one in the same. In my experience the true daylight buck parcels represent less than 10% of all whitetail parcels. If you follow the 5 strategies above, you should find that your trail camera pictures will have a light more light in the background, than darkness.