He's coming RIGHT NOW, are you ready?
There is nothing more that jumpstarts your heart than the sound of an approaching monster in the woods. The sharp crack of a stick, the slow push of a grunt, and the rapid, leaf-filled movements of rutting whitetails can create a momentary panic in the treestand. I have a passion for discovering the near-panic of my next rut-filled encounter of a mature buck-but has it ever happened too fast?
While enjoying years of momementary panic along the way, I have experienced the need for hurried treestand movements quite often. In fact, with the oldest bucks I have harvested, a common theme has occured to a very high degree: The length of time to identify, decide to shoot, ready for the shot and make the shot...all while not being seen or heard by the buck, has been 10 seconds or less. Sometimes, hunting DVDs and TV shows paint an unrealistic picture of how long you will have to make the shot. But doesn't it have to be that way? For the camera man and hunter to act as one within the process of capturing a satisfactory amount of footage, it takes time, often more time than you may experience in the woods yourself. It's easy to get pinned down when a giant comes within range, maybe easier than you think! Here are my top 5 panic-reducing methods for practicing a 10 second bowhunting rule for big bucks
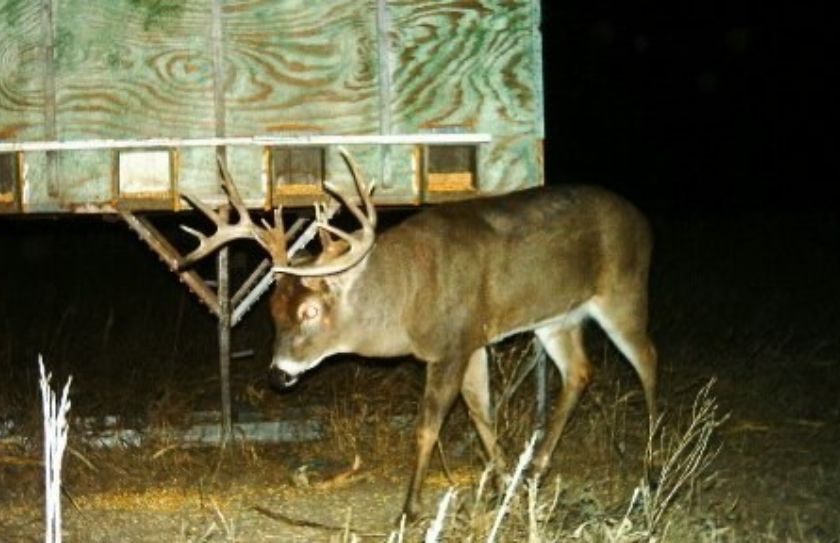
*How long do you have to shoot him? Not long, especially if he is just cruising along on a well designed Buck Travel Corridor, that you can create!
10 Second Bowhunting Rule for Big Bucks
1. Hands-Free
If your hands are snuggled deep in your pockets and to the side, it takes an awful lot of movement to pull them away from your body and to then move them towards your bowstring. Or what about the process of removing a glove or flipping back the top 1/2 of a mit? It all takes a precious extra second or two, and when you are working with a potential of 10 seconds or less...every second counts!
The use of a handwarmer tube, or hand muff, can greatly reduce your movements. While keeping your hands in front of your stomach and close together, the length of movement from warmth to string, can be greatly reduced. A muff also has an exceptional ability to keep your hands warm! By adding a waterproof gator around the outside of the muff, you can create an even greater level of warmth. A warm handwarmer tube reduces the need for thick and bulky gloves and by throwing in a couple of heat packs, I simply use a single, thin layer of gloves to cover my hands. Even in the coldest of temperatures, my hands stay warm, dry and in a ready position at all times! Also those hand muffs can be a great spot to house your cell phone, grunt call or can-bleat. I even use the small zipper that is a feature on most styles, to carry my muzzleloader necessities.
2. A Close Bow
Where is your bow hanging? For decades I have rested the cam of my bow, on the platform of my treestand while leaning the bow back towards me between my legs. My bow remains upright and in the ready position at all times, and while using a hand muff (I use one every time I enter the woods-hot temps or cold) my hands are warm and within inches of attaching my release to the string for the entire sit.
A bowhanger can be great too! Often an opportune branch can be taken advantage of for a natural hanger, and there are plenty of manufactured models to choose from as well. But even though I occasionally use a hanger, I still don't like the risk of raising my hands from the top of my legs, the 1-2' it takes to grab a suspended bow handle.
A practice I have never seemed to have a use for, is resting the bow across my lap. I know it sounds minimal to grab the bow while twising it only 90 degrees to be ready for the shot, but I have never appreciated the amount of time it takes, or added movement. Whatever your preferred method though remember, the 10 second clock is ticking! Aside from the added movement that may spook a wary giant, if it takes you several seconds to reach for your bow and attach your fingers or release to the string, you may end up running out of time to actually take the shot.
3. Accurate and Practiced Yardage Windows
OK, I know that you aren't going to climb every tree and shoot your bow multiple times in every potential window, but it still pays to practice. I personally begin to practice by establishing my yardage windows by laser, either as soon as I climb into my stand, or as soon as the sun comes up. Then, I repeatedly make sure that when I am sitting in my stand, I ask myself, "If a buck comes here...or there, what is the yardage?" It's a constant process and I believe that you can imprint these numbers on your brain enough to remember them the following year, let alone the following sit. However, if you need to rely on a laser when you see a buck approaching-you are most likely going to be too late! In established stand locations, pre-marked sticks, rocks or trees can be a great practice as well but as the clock ticks, your yardage estimation needs to be made in an instant, not a few seconds.
4. Set Yardage Pins
If you only shoot 20 yards a single pin can work quite well. However, if your level of proficiency allows you the potential to take a 30 or 40 yard shot, than in my experience you need a pin for each of those distances. While reflecting on my best of buck kills, I would not have had been able to afford the time or required movement, to change a roving pin distance. Also, the process would have only increased the panic factor! Instead, I like to be completely ready to take the shot, including only: Attach the release, draw the bow and shoot...all in 1, fluid process with the least amout of motion as possible.
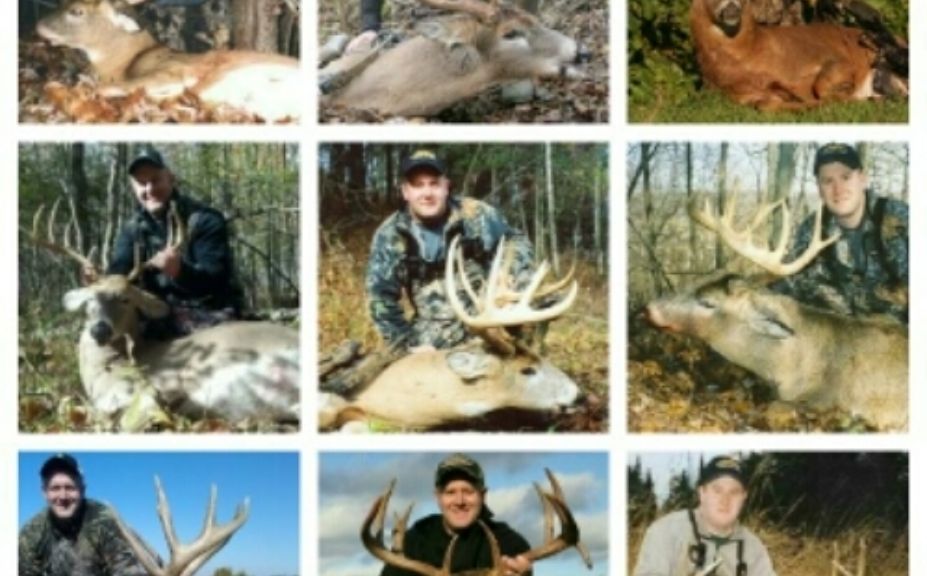
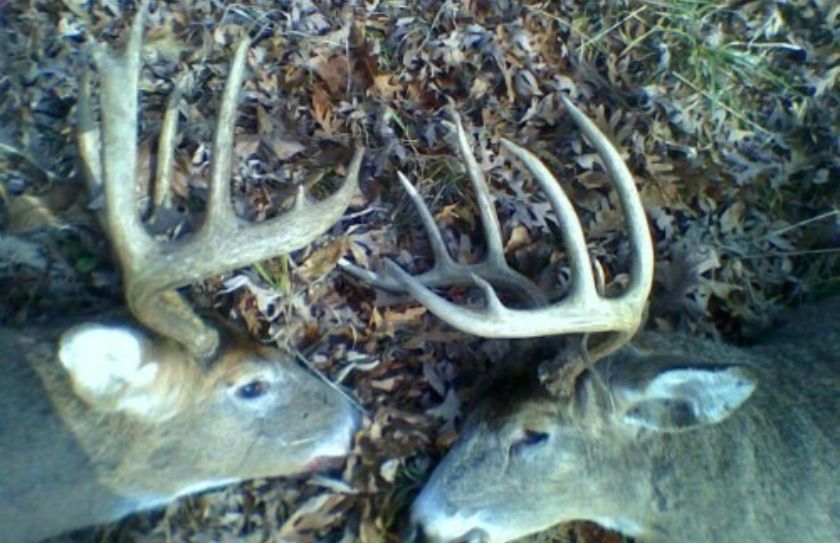
*The buck in the middle/left, is the only buck out of this group that gave me more than 10 seconds to take the shot. And even then I was surrounded by does and fawns so I could barely move...
5. Target Identification
I encourage you to practice extremely fast methods of aging deer. I recently wrote on article on this subject titled, Field Judging Buck Age Antler Guide but if it takes several seconds or more, you will most certainly run out of time, the majority of the time. The best way that I have found to practice is by watching a hunting DVD or TV show, and attempting to make a decision in 1 second or less when you first see the approaching buck. I have found that you have to include the antlers into the equation, because to get a full view of the body alone can take 10-20 seconds or more. Instead, the antlers, body size, attitude, walk, coloration of the coat or rack...you can make a determination in 1 second or less, but it takes practice. The great thing is that you can practice from the comforts of your recliner! Many times I have shot the #1 target buck on the land I hunt, without knowing it was the #1 target buck. How can I do this when at least a portion of the process includes the antlers? Because I am looking for the maturity level of the buck, and not the # of points or final score. It has to take a second or less if you are to have a chance within wooded, natural settings.
Conclusion
Sure, I know that some buck opportunities can drag into an hour or more of agony while waiting for a shot, that doesn't happen very often. However if you are like me and have a passion for pursuing the steps of a rutting monster within a brush-filled travel corridor or funnel, the process of the shot can take place at an extremely panicked pace! As you prepare for your next hunt, reflect through the above 5 steps of the shot process and estimate how long it takes you to complete the shot. Can you quietly identify a shooter and get the shot off in under 10 seconds, with minimal movements? I have experienced that if you follow a panic-reducing 10 second bowhunting rule for big bucks, you will be well on your way to taking advantage of your next mature buck opportunity in the woods!