Are your trail cam locations setting you up to capture over 90% of the bucks within a 1/4 mile of your parcel borders? If not, I have experienced 3 proven strategies that will allow you to not only capture an extremely high percentage of the neighborhood monsters, but in the end to create the opportunity to define precision treestand placements. Also, in the process of using these trail cam methods, don't be suprised if a huge bonus is created for your habitat and hunting management efforts.
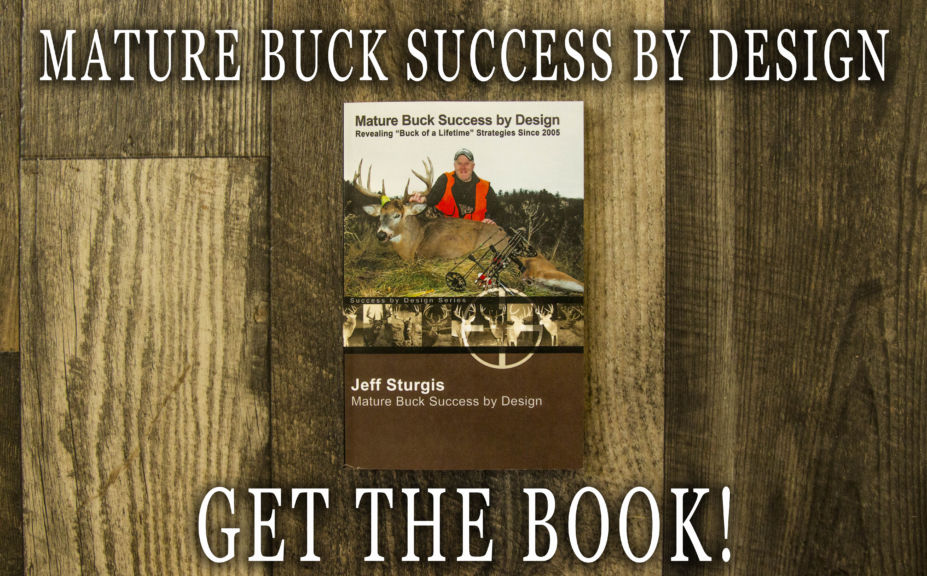
*Top trail cam locations, as well as many other advanced mature buck hunting strategies, are covered in my 3rd Whitetail Success By Design book series, "Mature Buck Success by Design", which details how to scout, prepare, forecast for and consistently kill mature bucks. In the video below, you'll see how we make the most of our trail cam locations...
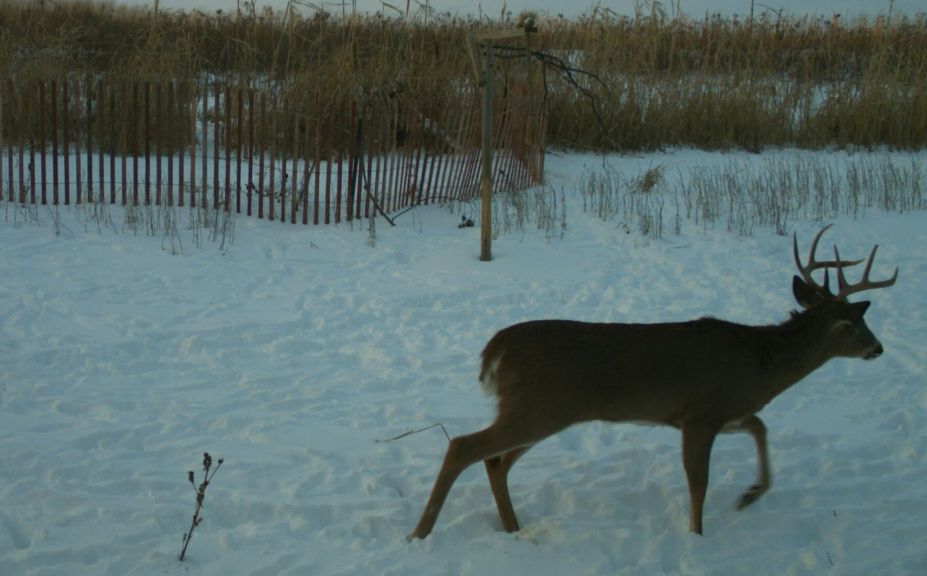
Trail cams are an incredible amount of fun. Although I feel old at times, I am not so old that I do not remember the incredible amount of anticipation to open our gifts, on Christmas morning. My brother Keven and I, would even sleep behind the couch in the living room, only a few feet from where we thought Santa would be dropping off our presents. We believed. We believed that Santa was coming and that he was bringing gifts. The magic that surrounded the weeks, days and hours leading up to our annual Christmas Eve traditions, is still burned into my mind as some of my fondest childhood memories. As someone who is more than 3 decades removed from those early years of high anticipation, those same familiar feelings still creep into my thoughts not only during the traditional holiday season, but during the annual hunting season as well. How, by checking out an SD card from a highly strategic trail cam locations, to reveal the annual gifts of Autumn in the form of giant buck pictures! The following 3 trail cam location practices are the top placement strategies that I have found, to deliver as many gifts as possible, during the hunting season:
1) Food Source Licking Branch Locations
One mock scrape is great, so 20 should be a lot better, right? I don't think so. In fact, too many scrapes lower the value of each one by over-saturation. Bucks aren't attracted to a parcel because there are more scrapes on the land, but a low number of scrapes can create highly defined movement patterns. Bucks can be trained by a low number of quality mock scrape locations to offer you a window into the majority of bucks in the area. Having too many scrapes potentially steals one of the greatest methods of capturing an extremely high percentage of the neighborhood giants, by removing the opportunity to set up outstanding trail cam locations.
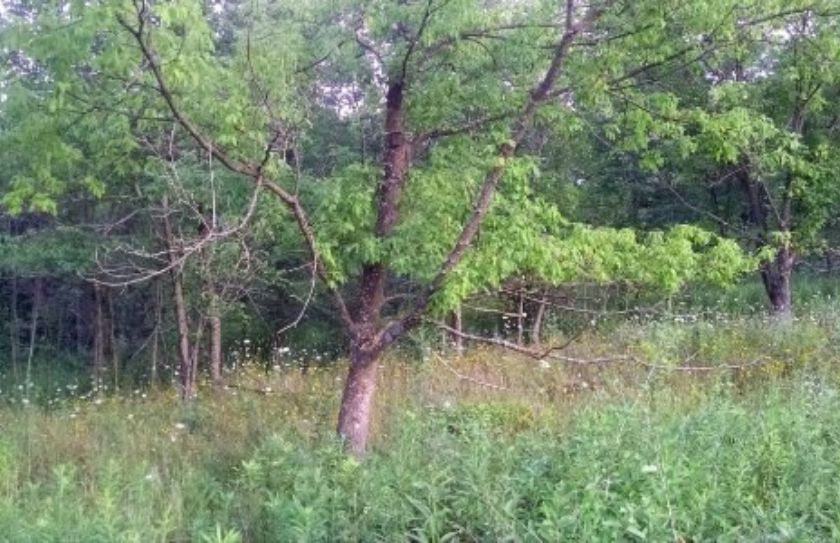
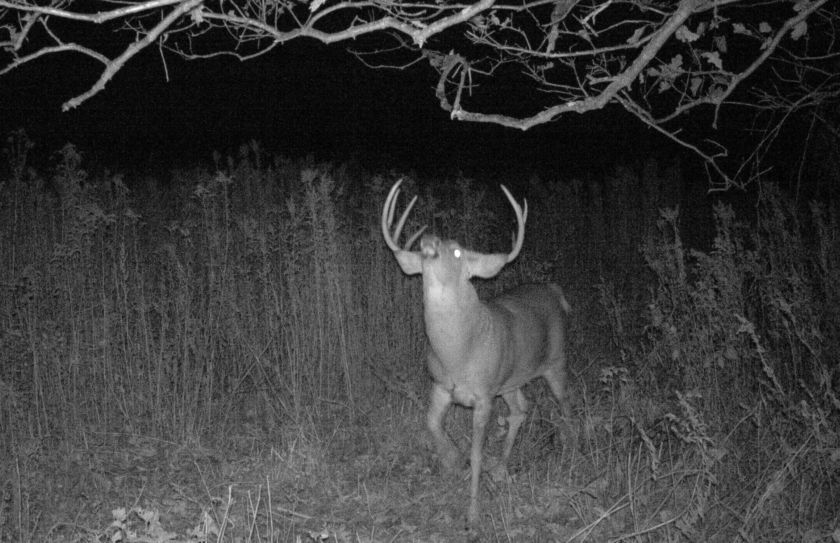
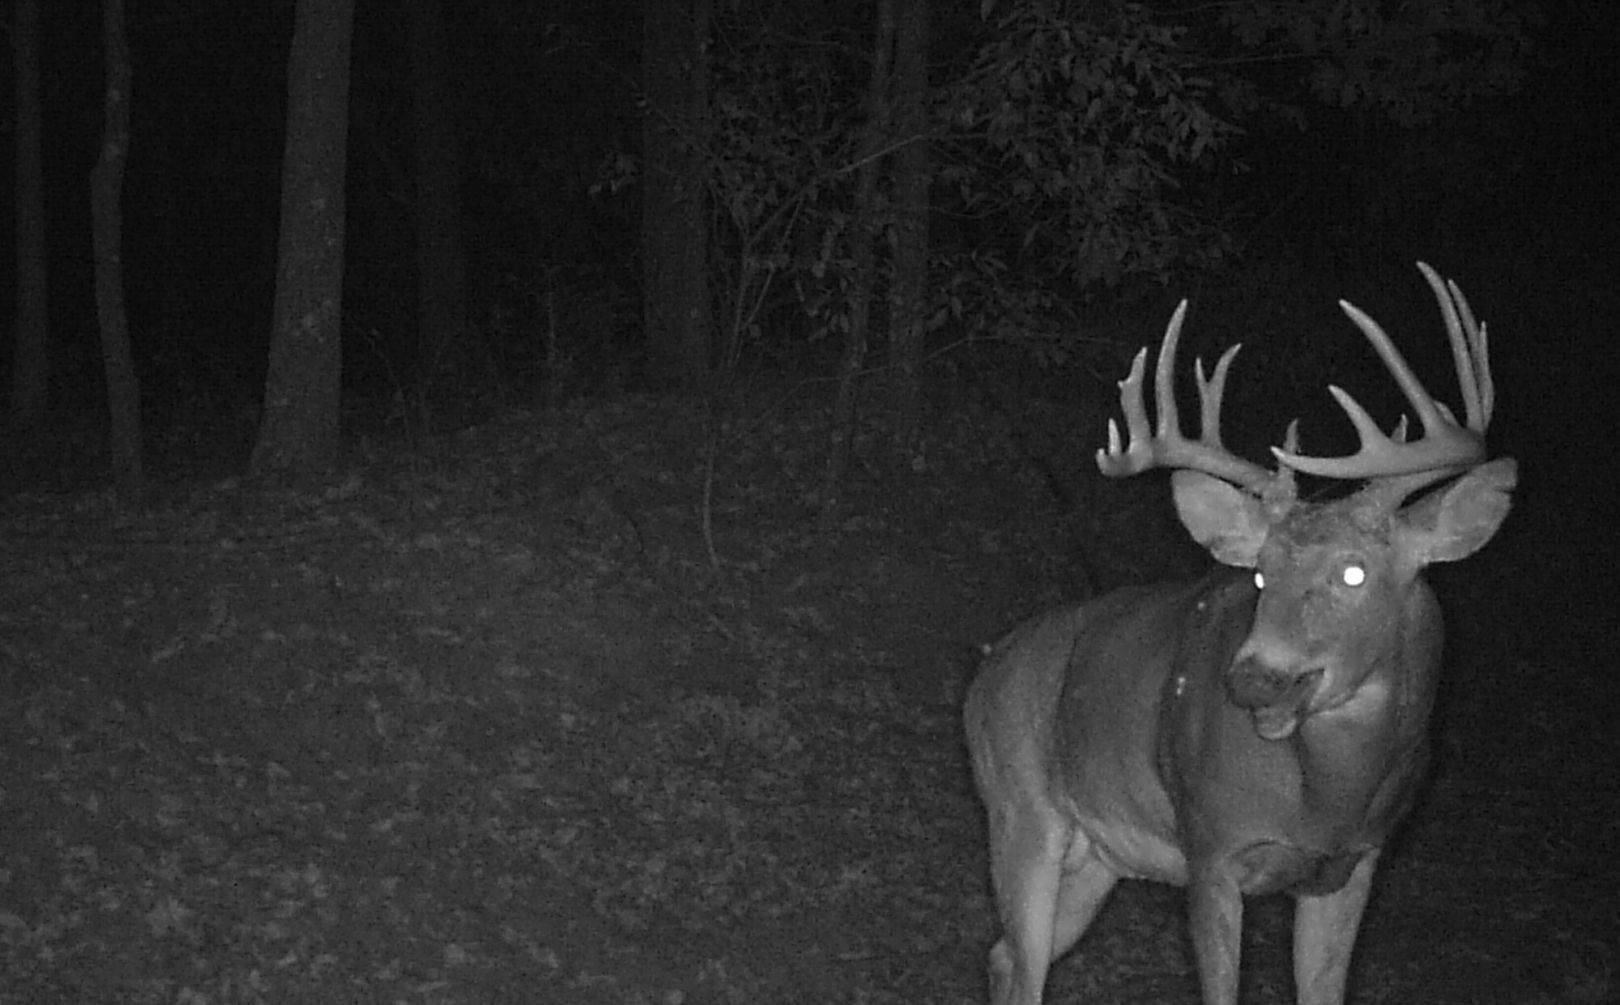
Dating back to the mid 2000s, my favorite practice for identifying mature buck patterns, has been to place a camera alongside a food plot, on a single mock scrape. I leave the trail cam location alone for weeks at a time, while allowing the placement to perform its job, free from human intrusions. On a rainy, windy day I then access my open food plot locations during the middle of the day, and retrieve my cards (in the "old days" 36 exp 35mm film). This trail cam location practice tells me which direction that various bucks travel from, it allows me to assume their bedding area locations and it creates the opportunity for precision stand location placements to take advantage of specific mature buck movements.
Bonus: By creating trail cam locations within highly social attractive areas, the deer become accustomed to any potential negative associated with the camera. The areas are often easy to access non-invasively, allowing you to capture a high percentage of the local buck herd while keeping your land as a very low risk sanctuary in the minds of the local deer herd.

*Deer love vines! Some of my favorite natural scape locations have involved vines, so you can use that to your advantage for capturing an extremely high percentage of the local buck herd. Want to create one? Then check out my "Easy Mock Scrape Recipe".
2) Elevated Trail Cam Locations
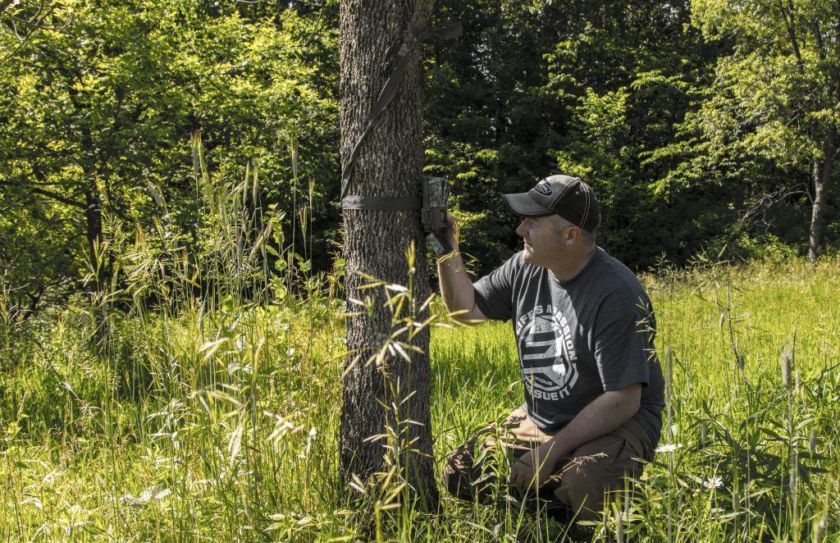
Are you worried about your next trail cam placement spooking your favorite spot in the woods? Then it is time to elevate your cameras! By offerng trail cam locations that place the camera 6-12' high off the ground, you accomplish a few things:
*Your trail camera bodies will be above the line of sight for a traveling whitetail
*Any trail cam scent is above and away from the potential direct contact of a whitetail's nose
*The pesky glow of infrared bulbs are placed harmlessly against the sky
Some of my favorite locations have involved using treesteps to access a trail cam, but at a minimum as high as I can reach has been the norm. Elevating your trail cam placements is one of the best way to remove ANY negative potential impact of the camera itself.
Bonus: Elevating your cameras not only offers some great pictures of unspooked deer, the practice can keep the sanctity of your parcel intact, when it comes to attracting the low-stress seeking reclusive needs of a wary mature buck.
*Hanging your trail cams high is also one great way to keep them from being stolen. Check out the other methods for hiding your trail cameras from the potential of theft, by reading "Top Tips To Hide Trail Cams".
3) Hunter Access Route Placements
A great strategy is to be concerned with what is going on outside of your land, as much as what is going on within your parcel borders. Many of us hunt some pretty small parcels that can't possibly house a large number of mature bucks. So, we have to learn the mature buck movements within the entire neighborhood. Where a buck travels through your land, into your land, out of your land and alongside your land can all be revealed through exterior hunter access trail cam locations.
My practice is to create multiple, non-invasive access routes that allow hunters to travel through the land to match any condition for time of day, time of season or wind direction, while preserving a large contiguous core sanctuary of "all deer all the time". This will allow you to create several trail cam locations that not only surround your core sanctuary areas (which should make up at least 50-70% of your land), but it will give you the opportunity to see which bucks from the neighborhood choose to relate to which borders of your land. Often a buck may live 1/4 mile or more away from your parcel borders and if he does, you should not only know where he crosses onto your land, but which direction he is coming from and by using an arial photo, where he calls home.
Bonus: By only accessing your remote camera locations when you hunt, you add zero additional human pressure on your land.
Do your trail cam locations stack up?
Not to detract from the sanctity of Christmas by comparing trail cam photos to holiday gifts, but I find those same familiar childhood feelings coming back each and every Fall, when I check my trail cam locations. The intel that is offered through high quality trail cam placements is 2nd to none, when it comes to maximizing your scouting efforts. By knowing where bucks are traveling from and what time of day, you can create precision treestand locations that can be accessed when the time is right, for a specific buck. However, that isn't all!
The real bonus that comes from using advanced trail cam location strategies, is that the impact of using trail cams on your land, should go unnoticed by the local deer herd. By learning to use the top 3 methods described above, you can not only discover nearly all of the bucks in the neighborhood while at the same time revealing the potential for precise stand locations, but you can keep the deer from discovering your scouting efforts while doing so.